


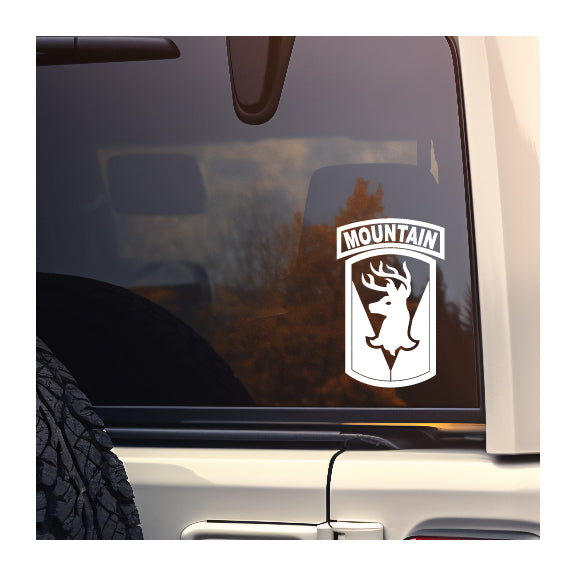


NOTE: Check Social links at bottom for videos on installing (youtube)
If you've never installed a vinyl decal it can be a challenge. Getting it on without tearing it or losing pieces just takes a little patience. This is the process I use.
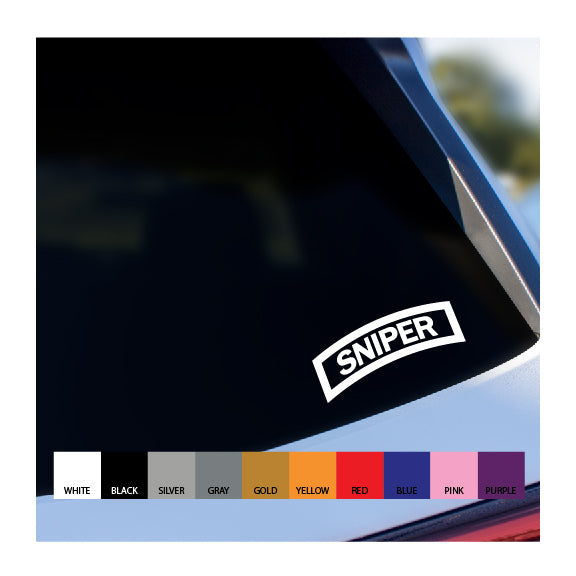
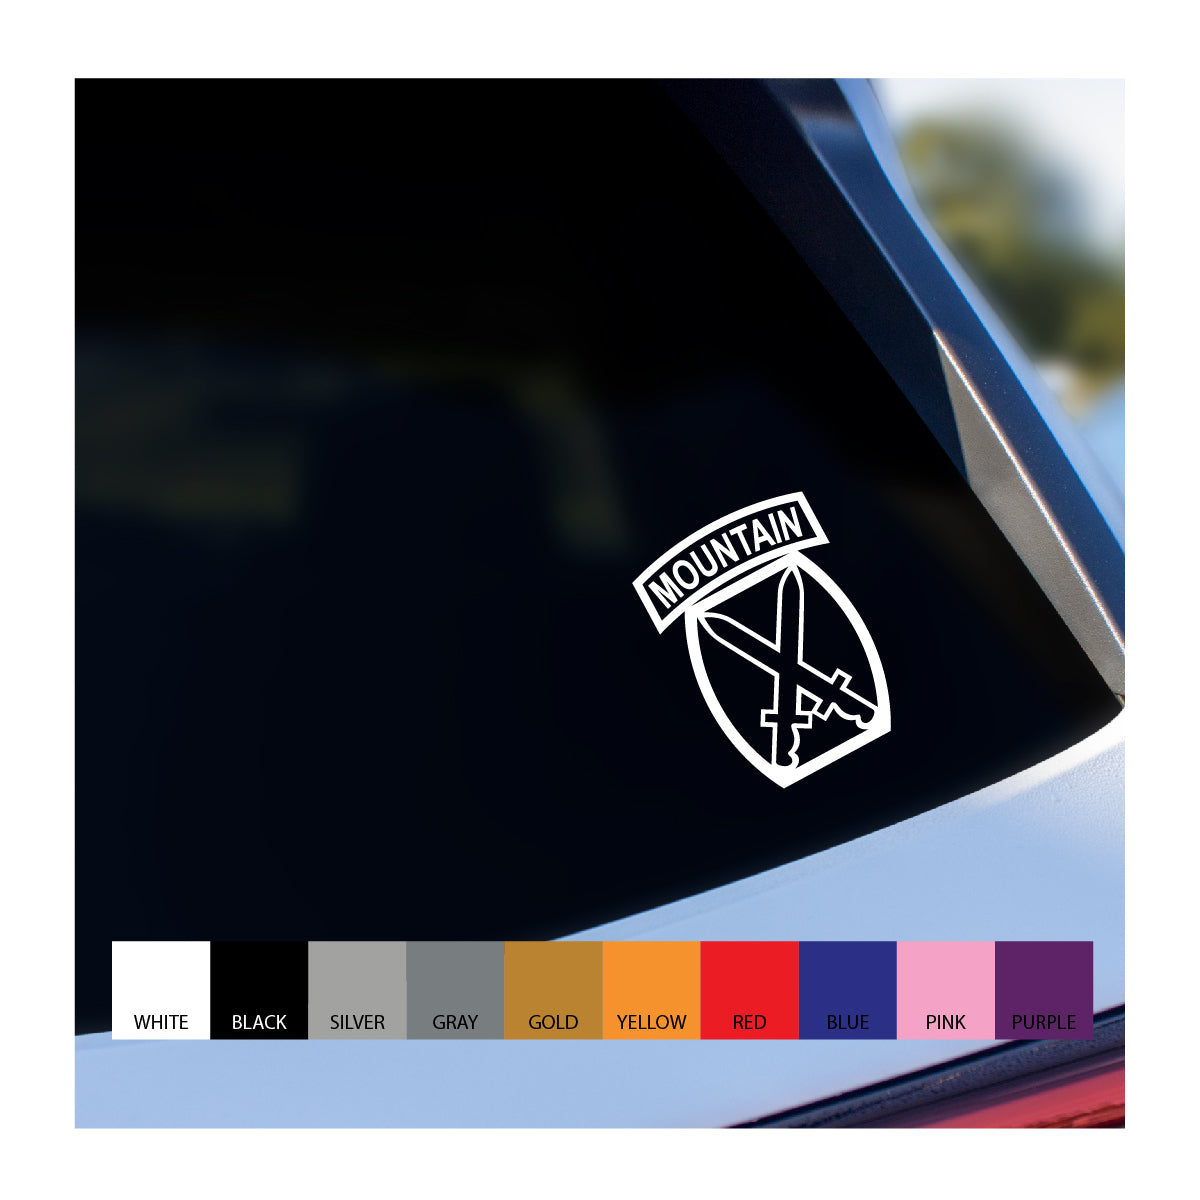
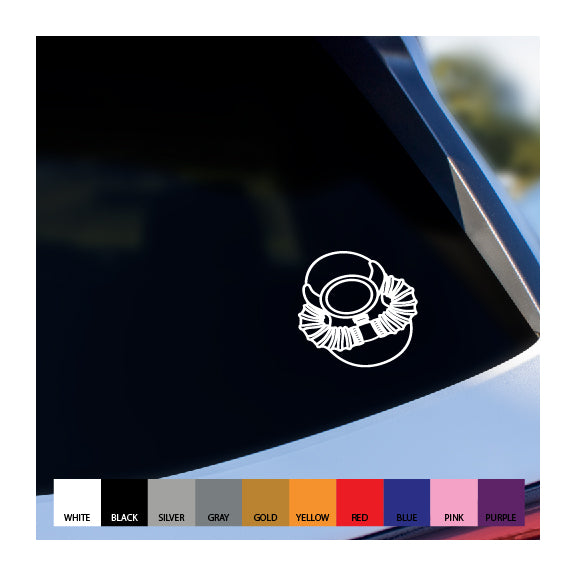
When you get the decal, it will have a paper backing, the vinyl decal on top of that and then a clear plastic or paper layer called transfer tape.
1. Read Blog post about transfer tape issues before proceeding.
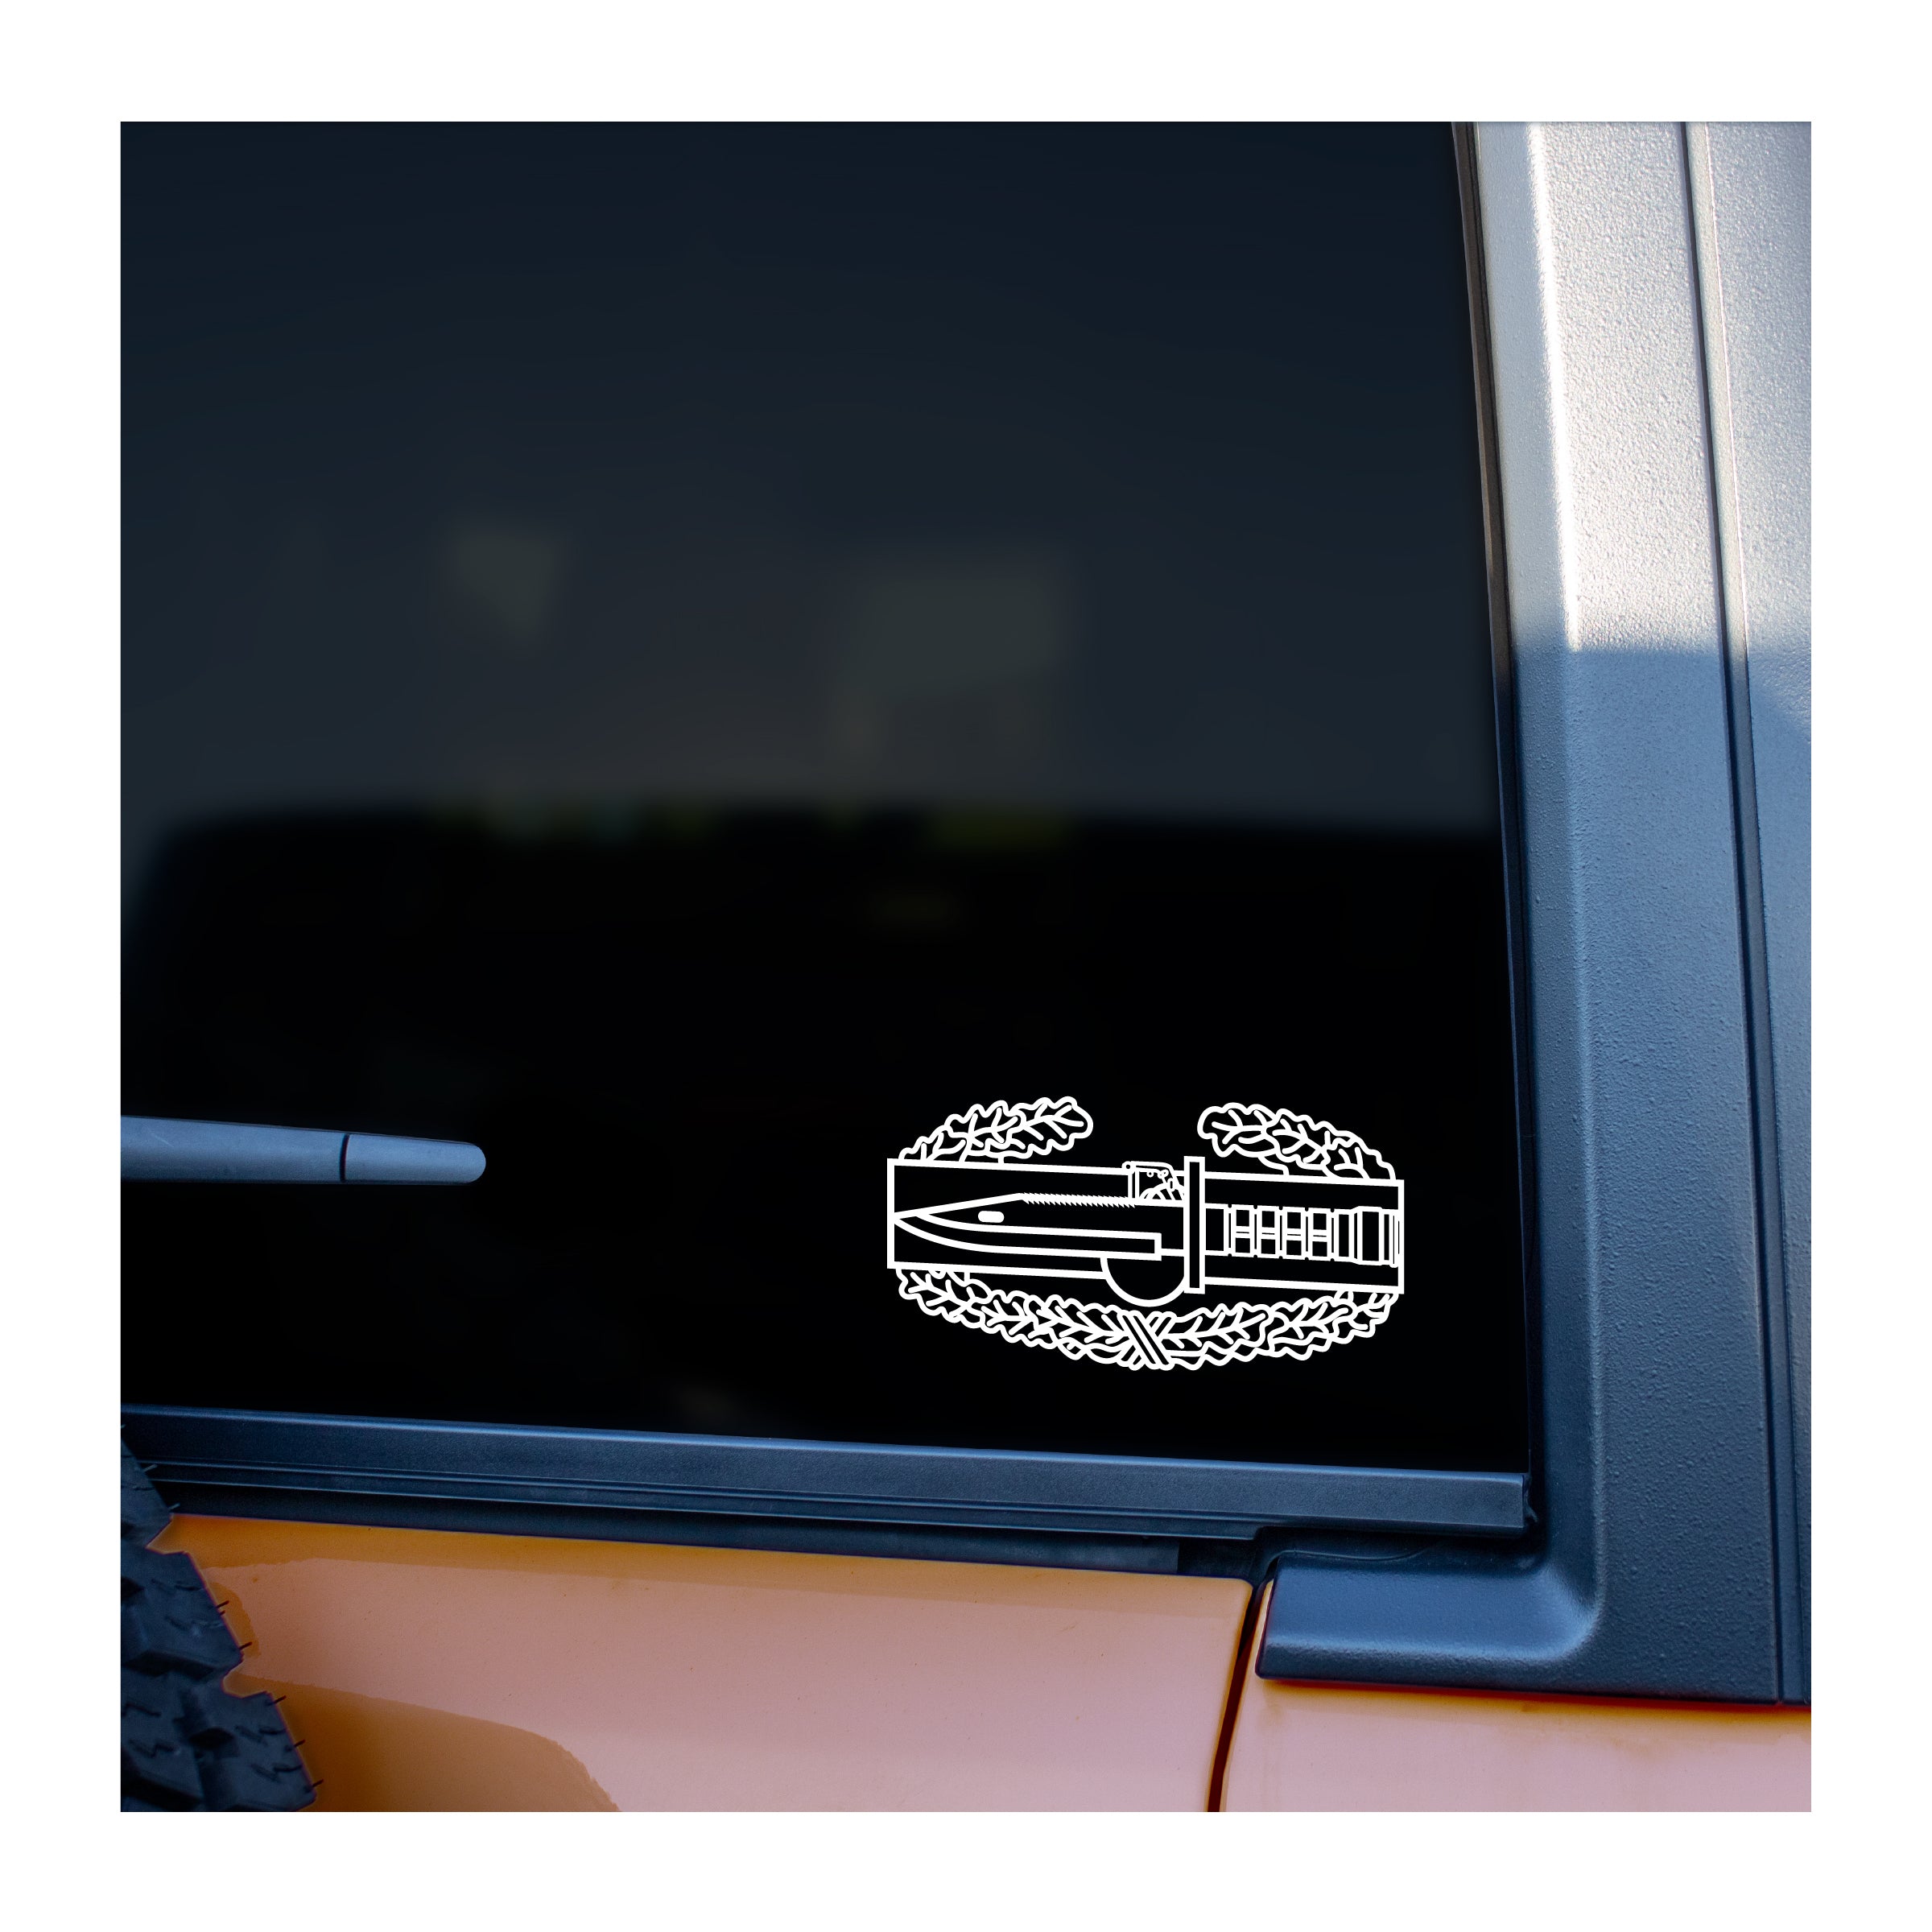
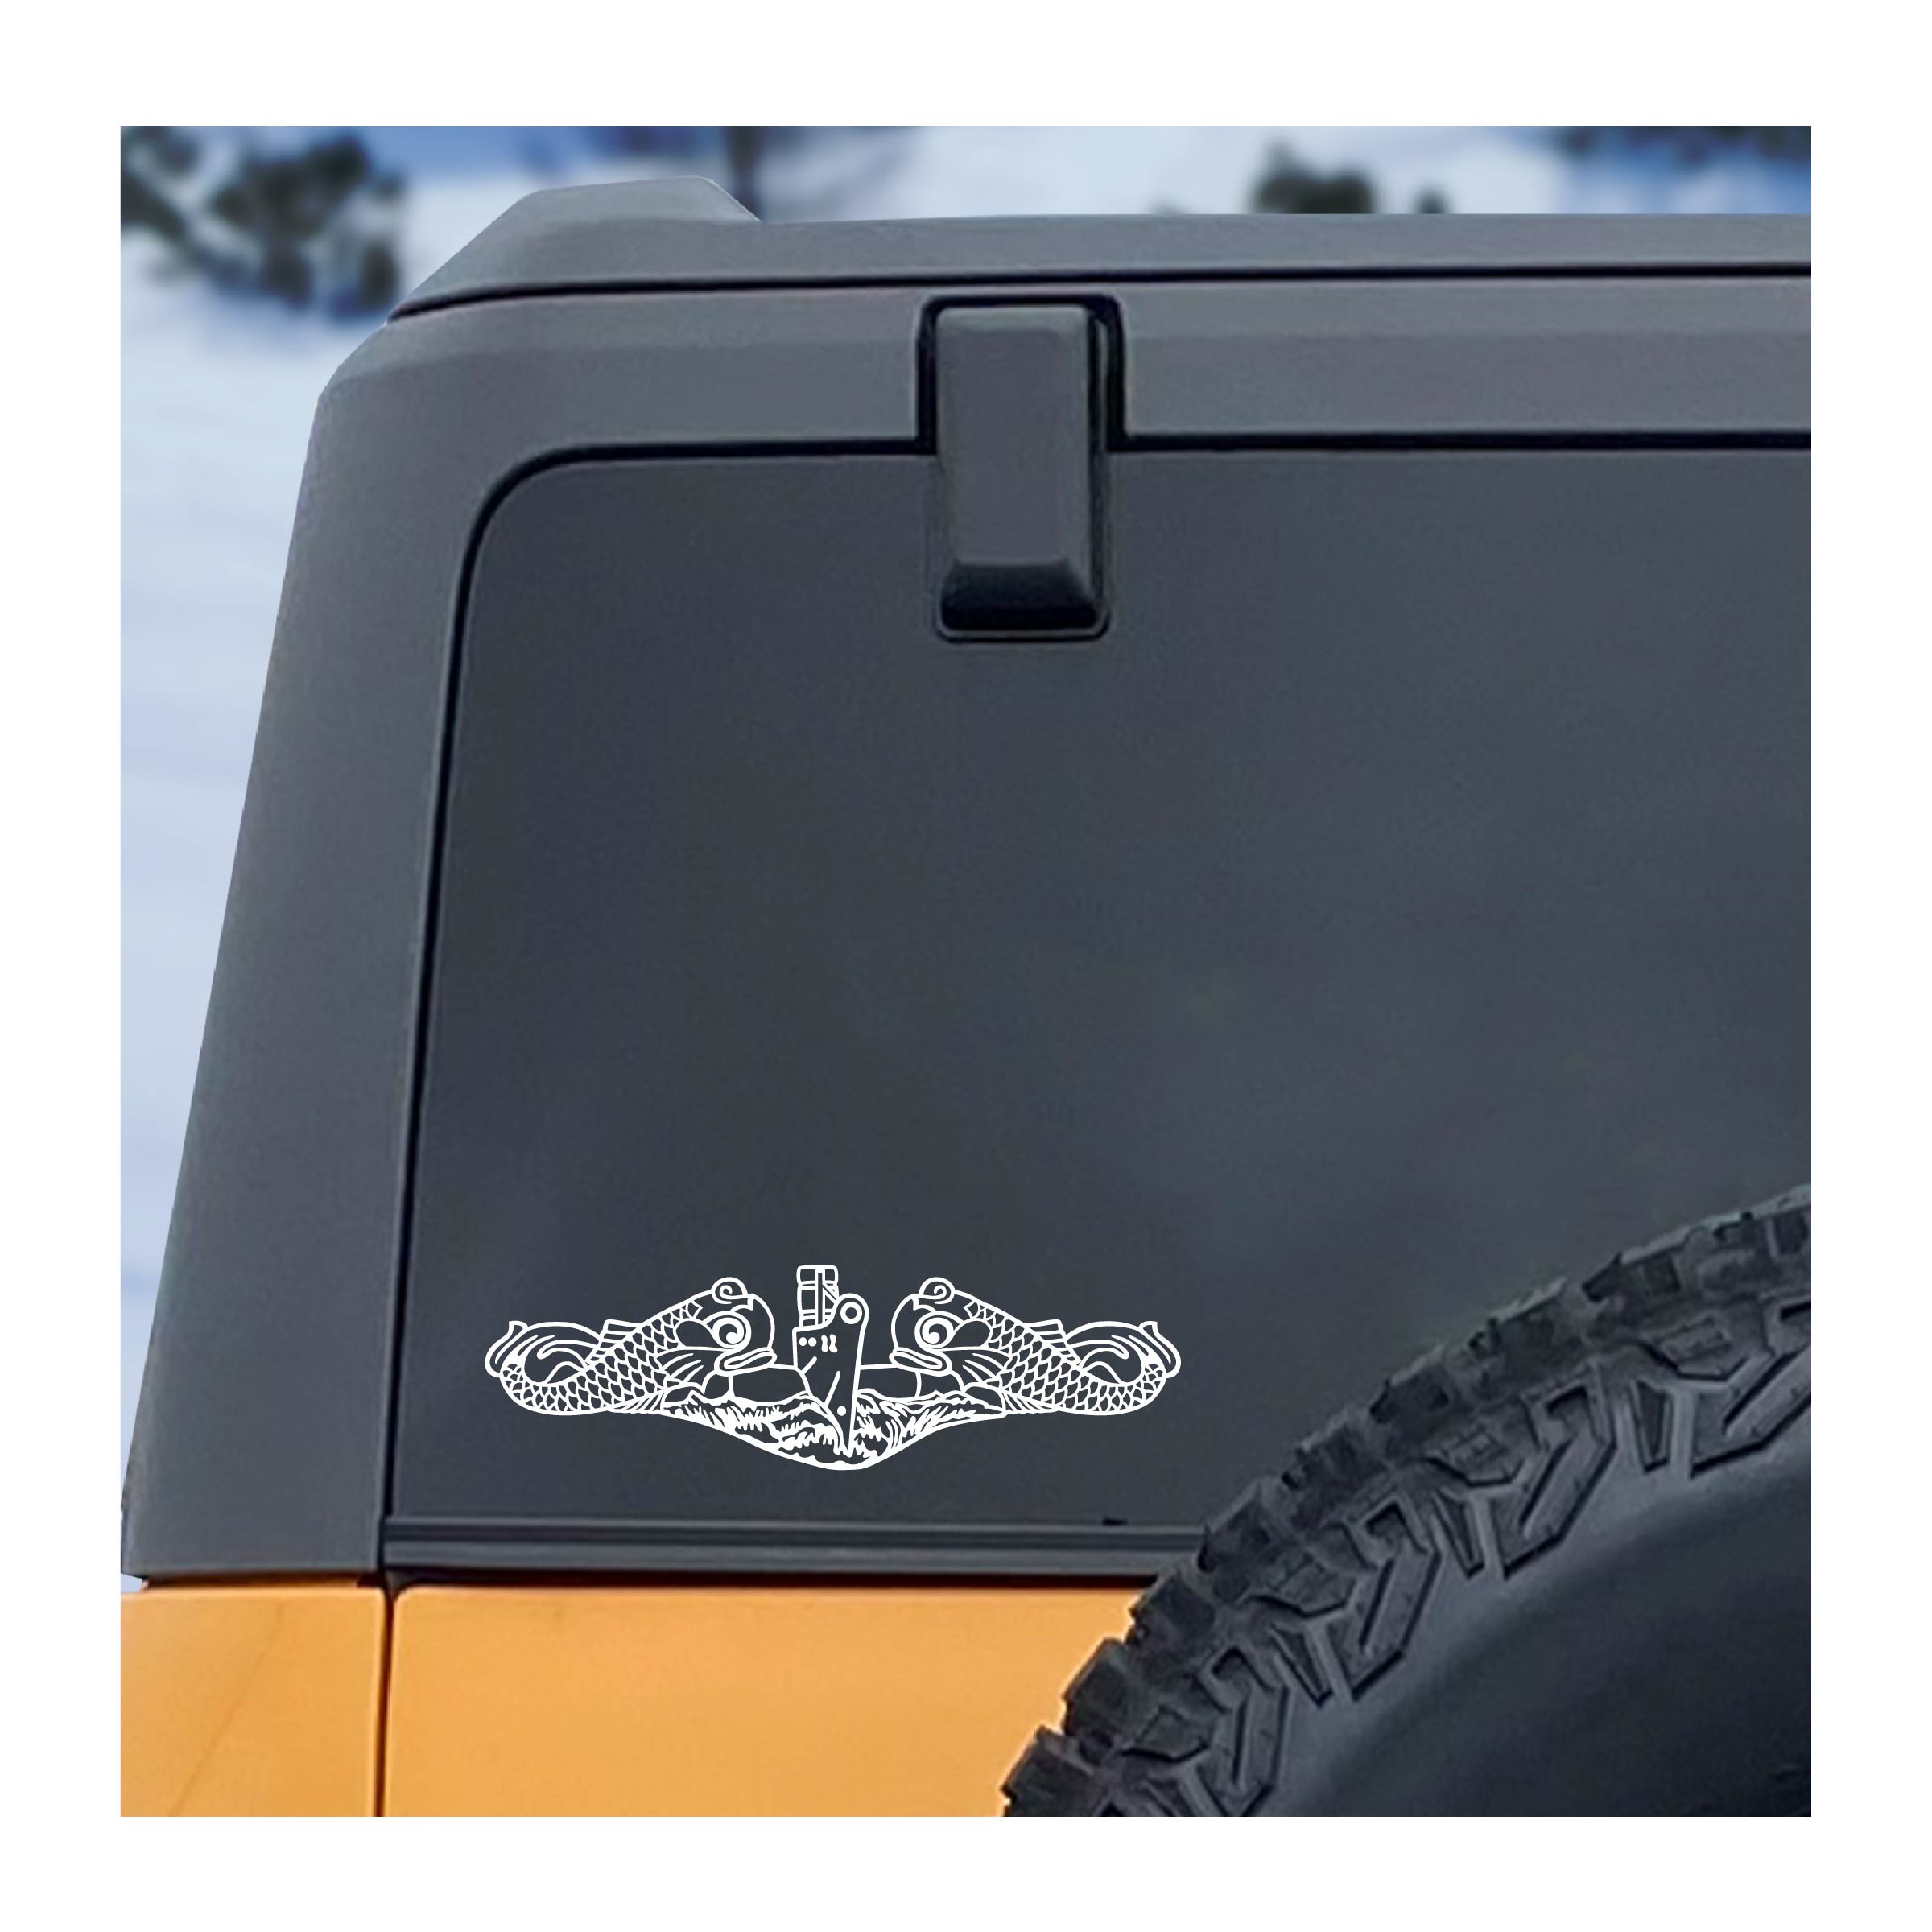
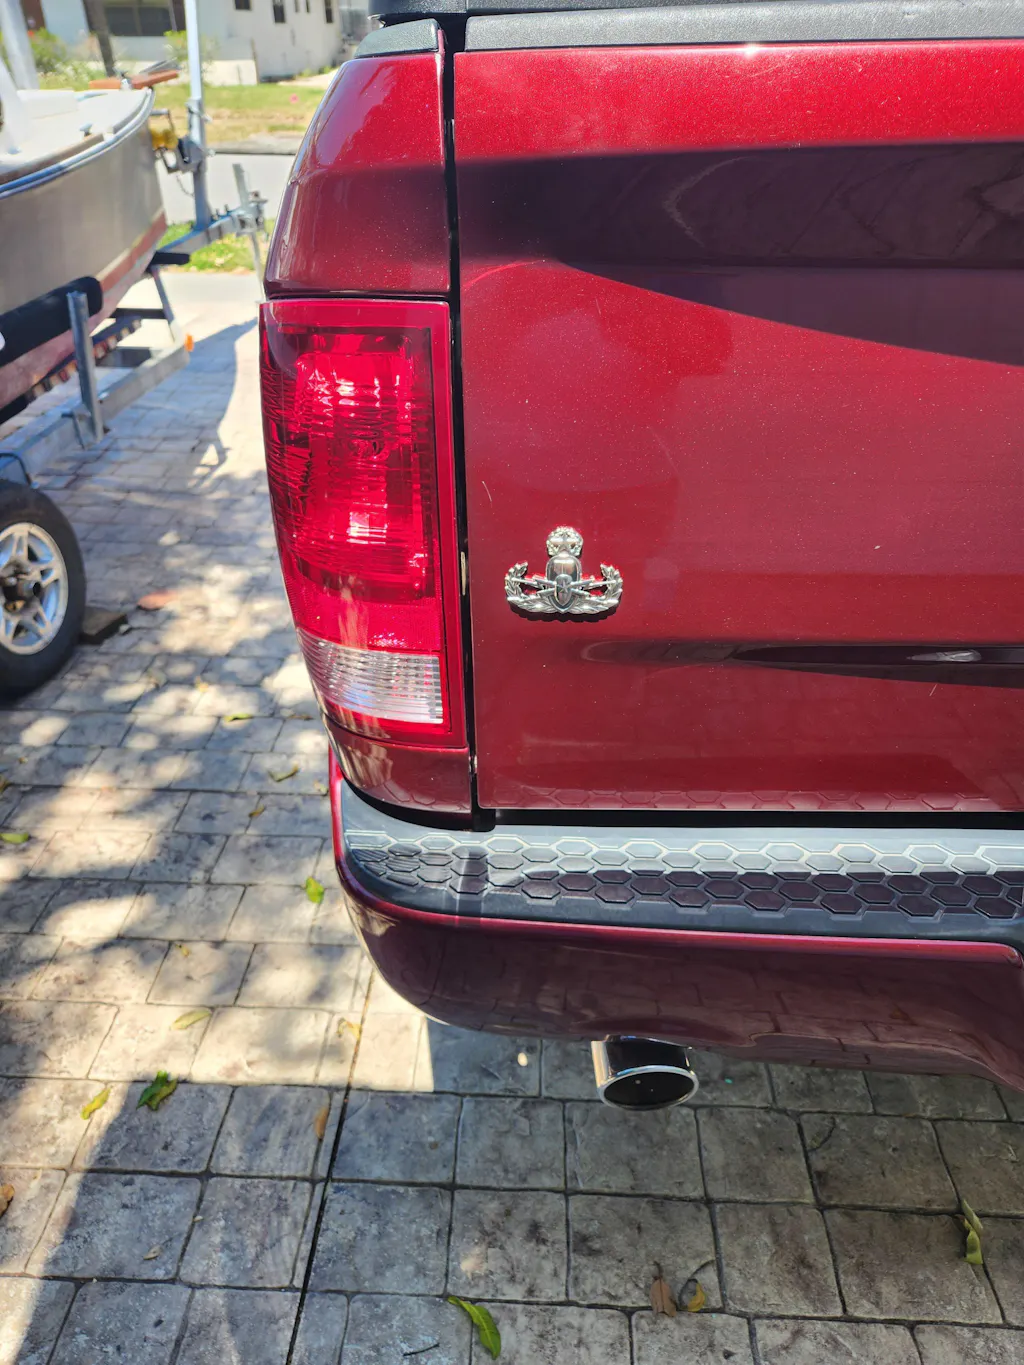
2. Clean the window where decal will be installed (alcohol-based cleaners may affect adhesive) and dry window thoroughly. Choose an area that does not have a window wiper and doesn't obstruct your view. Preferably not a roll down window as the rubbing against the seal may cause wear.
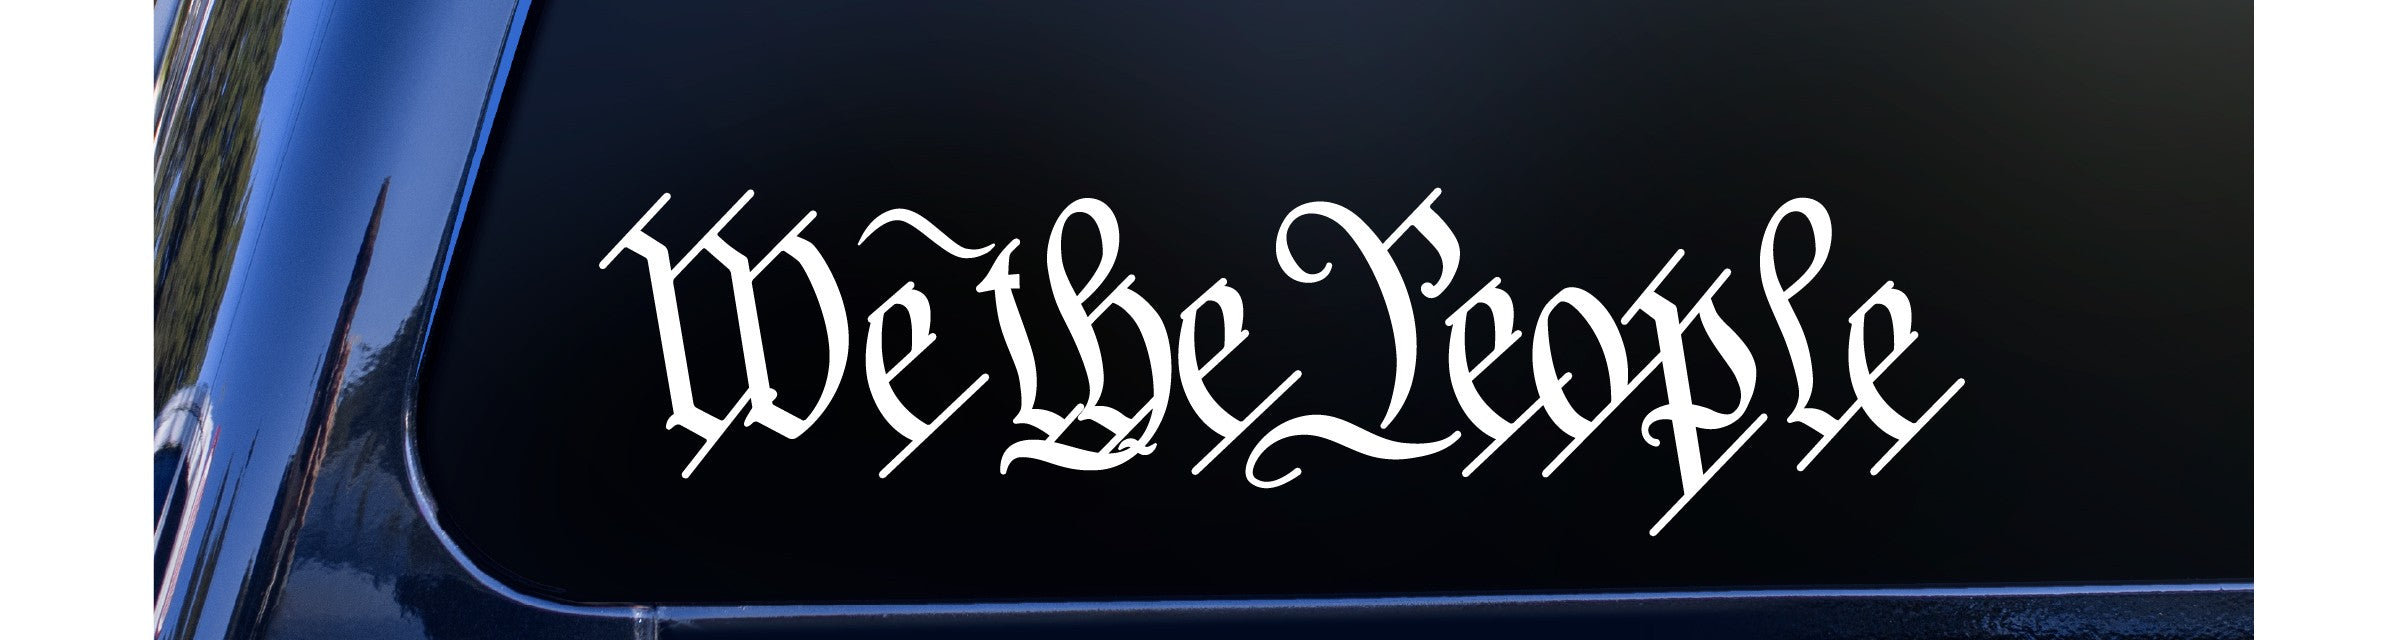
3. Once you've removed the decal from the paper, carefully place it where you want it.
NOTE: it is not removable, and you will not be able to reposition it once you touch down.

4. Use the squeegee (stiff card is a suitable replacement) to go over it multiple times to make sure the decal has attached to surface.

NOTE: you can easily tear the decal if you pull it too fast or don't continue to check the decal is staying where you want it.
5. Pick a corner to start peeling off the transfer tape.
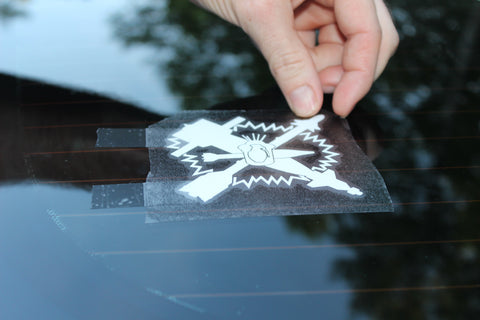
6. Peel the transfer tape off slowly along the surface.
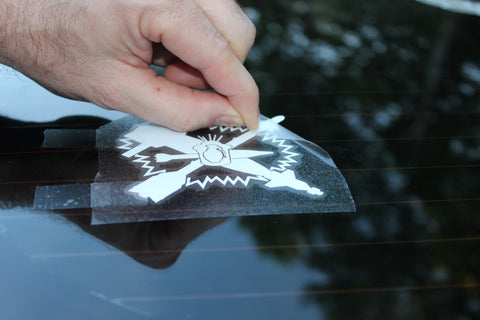
As you get to small details, make sure they are stuck to surface and not the transfer tape.

Detached areas or small details will have a greater tendency to stay on transfer tape and may tear or get lost.
NOTE: If any part of the decal stays on transfer tape, do not continue to pull, try to get decal off tape by holding the decal or pressing on it. Once it comes off, press onto your surface.


7. Don't wash the window for a few days to allow the decal adhesive to set.
Should last up to at least 6 years in normal outdoor conditions. Extreme temperatures may affect the lifespan of vinyl.
Hope this helps you install your vinyl decal, and thank you.
3 comments
Just applied my new wings to my car! Follow instructions and it’s no problem. Nice quality, thank you!🇺🇸
Went to your blog, did just as it directed! Had no problems and it went real nice. I am very pleased with the results.
Another Great install of a Great product!!
Thanks! 👍👍🇺🇸